Hey there, I’m Ashraf aka Dev Ash. I create WordPress plugins and build custom WordPress / WooCommerce websites.
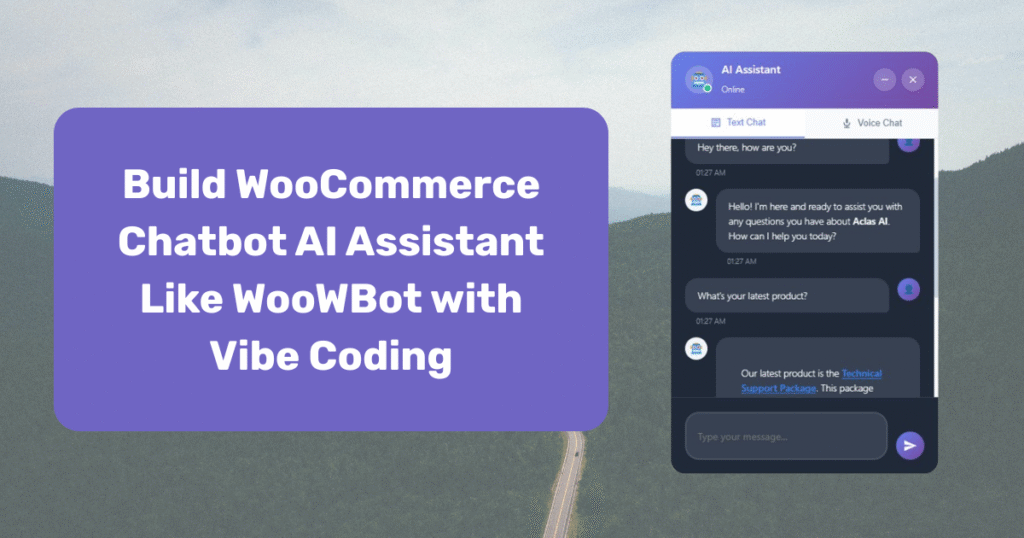
Today, I’ll explain how to make a WooCommerce chatbot AI assistant like WooWBot, which currently starts from a $40/year subscription. The idea is simple: build a chatbot that uses your store’s existing data (products, pages, posts, or even custom post types) to answer customer questions in real time.
It’s not as complex as it sounds. You just need basic knowledge of WordPress, WooCommerce, PHP, jQuery, and related languages. We’ll use Claude AI for most of the coding, so you don’t need advanced PHP expertise. It will be a “vibe-coded” plugin that mixes AI with WordPress development. Let’s start.
Setting Up Your Development Environment
To make your development experience smoother, try this set up:
1. Claude AI Subscription
Claude AI’s Sonnet v4 is excellent for PHP programming and WooCommerce plugin development. The basic subscription starts at around $20/month, and in my opinion, it’s a solid investment for developers who want AI-assisted coding.
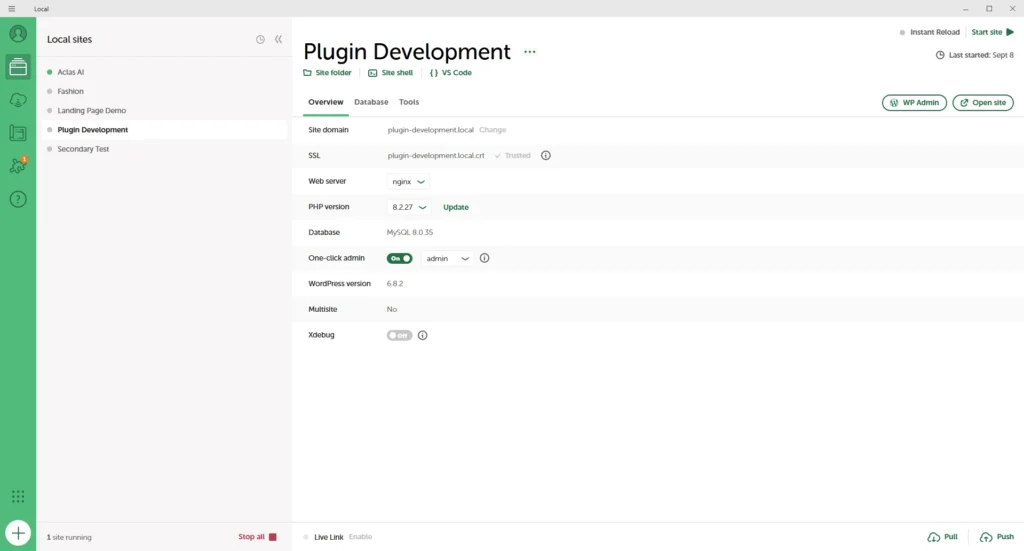
2. Local WP
For a smooth local development experience, use Local WP. It’s one of the best tools for setting up WordPress environments with just a few clicks.
- Windows users: If the interface doesn’t show up while running in the taskbar, a reinstall may be needed.
- macOS users: You might need to install some libraries for compatibility.
3. OpenAI API
Then you’ll need an openai api subscription. It won’t be expensive for the development as you will be charged pay-per-use. Open ai api key will be used to generate embeddings for your website data (page, posts, products etc.) and provide chat completion service for the user.
4. Qdrant Vector Database
Qdrant is a powerful AI-focused database that supports high-performance vector search for embeddings and nodes. It offers a free plan with 1 GB of storage for lifetime use, making it an excellent choice for developers. This makes Qdrant a reliable and cost-effective option to integrate into our plugin.
5. VS Code + Extensions
Use Visual Studio Code with extensions like:
- PHP Intelephense
- WordPress Snippets
- Prettier
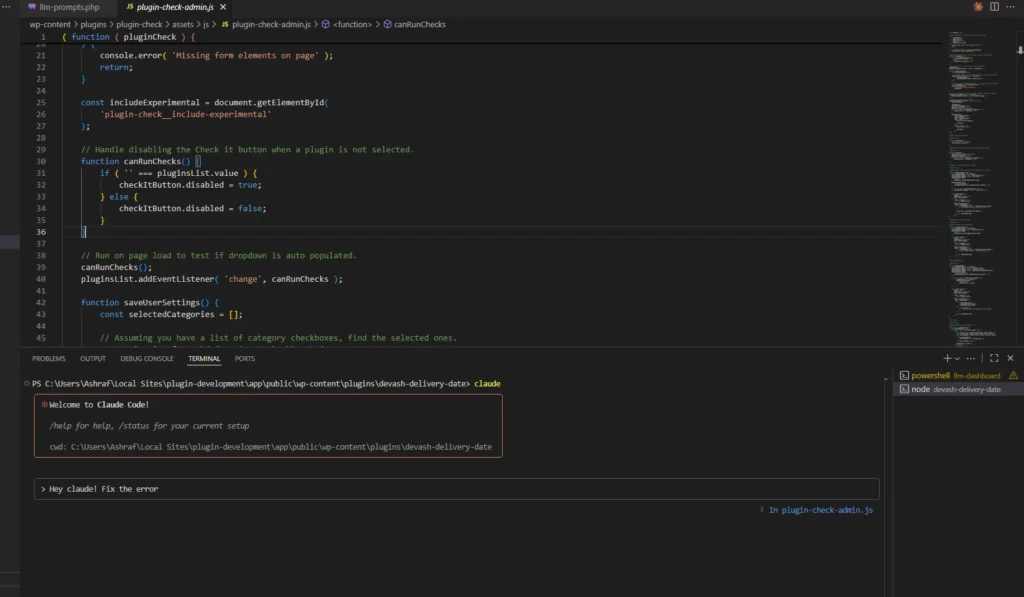
Most importantly, integrate the Claude AI to your VS Code terminal. This creates a workflow where you can generate and refine code instantly.
Here’s the tutorial how to do that.
Step 1: Set Up the Plugin Structure
Start with a proper plugin boilerplate. Use a starter prompt like this by explaining everything to Sonnet:
Prompt:

Build a WordPress plugin named AI Assistant Chatbot with the following features:

Core Functionality

Works as a RAG system:

Uses OpenAI API for embeddings generation.

Stores and queries embeddings in Qdrant Vector Database.

On chat completion, perform vector search on stored data to retrieve context and generate custom responses based on website data.

Admin Panel

Create a WordPress admin menu with the following tabs:

API Settings: configure OpenAI API key, Qdrant API key, endpoints.

Training: upload or scrape website data, generate embeddings, store in Qdrant.

Statistics: show usage logs, chats count, vector DB size.

Design Settings: customize chatbot icon (default floating circle with human icon), chat UI theme (colors, fonts).

Other Tabs: placeholders for future features.

Frontend

Show a floating circular button with a human icon (customizable from admin).

On click, a beautiful chat UI appears (responsive, modern, clean design).

Chat interface connects to backend logic:

User enters query → query embeddings generated → search Qdrant → send context + user query to OpenAI → show generated answer.

Technical Requirements:

Follow WordPress plugin standards (enqueue scripts/styles properly, use shortcodes/hooks).

Secure admin forms with nonce and capability checks.

Store plugin settings in WP options.

Ensure clean, modular code (OOP structure preferred).
Step 2: Chat UI
Browse Dribbble to find an appealing chat design and download the design and upload it to Bolt to generate the HTML and CSS for the UI. Next, take this output to Sonnet and request integration. You may need to make a few revisions and keep iterating until you’re fully satisfied with the final design.

Step 3: Explore all the backend settings
Add features and functionalities you find useful. Tweak and modify them as you like—the possibilities are endless.
If you’re creative, you can take this project to the next level. While there are existing plugins, most have limitations and plenty of room for improvement. A good example is Woowbot. You can enhance the chat experience, deliver more accurate responses, and make it more engaging.
And if you’re interested in building a custom plugin like this for your website, feel free to reach out to me here. Have a great day!